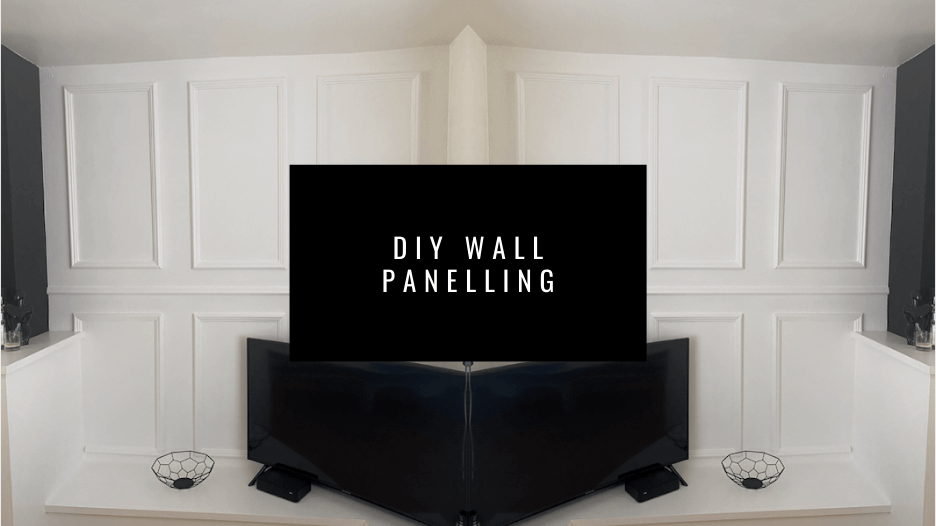
So I’ve been dreaming about wall panelling for quite some time now, I’ve seen it all over magazines, Pinterest, Instagram and Youtube so I thought it was about time I hopped on the trend.
It’s taken me way too long to get around to writing this post I’m sure you’ll have all seen the final results already over on my Instagram by now.
We are back in our third national lockdown here in England and it’s the perfect time to do some DIY and make your home amazing like I did last lockdown.
lockdown 2.0 I thought it was the perfect time for some well-needed decorating before Christmas. I’d read and seen online how easy it was to put up some wall panelling so I thought I’d try it out for myself.
I’m someone who loves decorating and DIY anyway so I had a lot of the tool’s required already. But here is what you need:
- Pencil & Paper
- Tape Measure
- Spirit Level
- Hand Saw
- Mitre Block
- Materials (Dado rail or MDF)
- Masking Tape
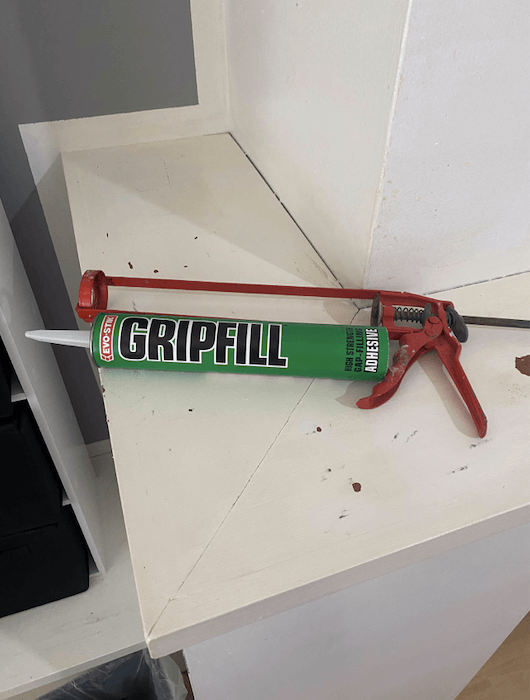
- Adhesive (Gripfill or similar)
- Caulk
- Sealant gun
- Paint in your choice of colour
This one panelled wall took me 1 day, I then had to give the finished wall another two coats of white paint the following day.

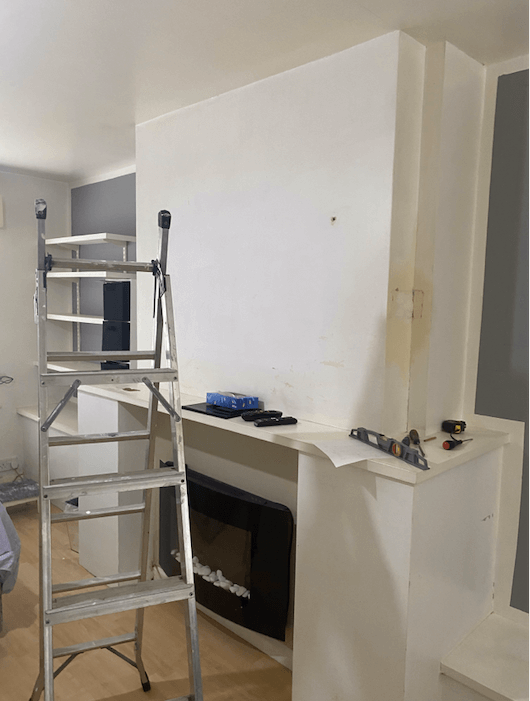
Step 1
Probably the part that took the longest was measuring and drawing up my design.
First things first, measure your wall from left to right and top to bottom and make a note of this. Make sure to take into account any alcoves, radiators etc, in my case I had to work around part of the mantelpiece.
Now you have your standard measurements, you need to decide what design you’d like to use and work around that, I wanted to have three panels at the top, a dado running the full width of the wall and then three slightly smaller panels at the bottom.
I chose this design because this is the one I had my eye on over on pinterest, I think it was in some fancy Parisian style hotel or some millionaires mansion haha. But have a browse and see what you want to go for first.
I also decided to have a 15cm gap between each panel and a 10cm gap above and below. You should decide what works for you and start to draw out your design.
The best place to start is with your gaps, minus this off the width of the wall and then determine how many cm you have left and divide by 3 to calculate the width of each panel.
Here is my drawing to give you a better idea

Step 2
Next I used my spirit level to draw my design to scale on the wall. It’s really important to have a spirit level because you can’t see by eye if something is not quite level and there would be nothing worse than having one wonky panel!
Step 3
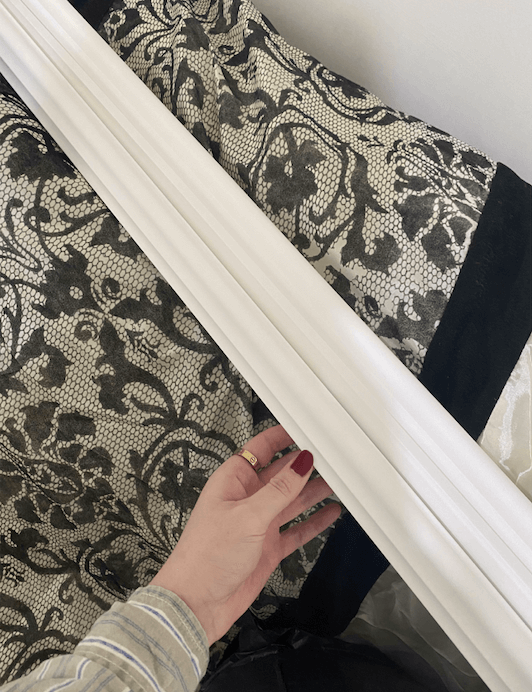
Order your materials; now you have your measurements and you are happy with how it will look, you can order your materials, I just used dado’s for the entire wall but you can go for whatever option you prefer.
The dado rails I ordered were from Screwfix and I needed 2 lots for my wall. I got the 40mm x 2m dado rails and in total this cost £49.98.
I then ordered 2 x Gripfill adhesive 350ml, I already had a sealant gun but if you don’t this sealant gun is super affordable.
Step 4
Now it’s time to cut your dado to size, don’t worry about the corners or how they will join for now, just start by cutting your pieces.
On your plan you should have the measurements for the pieces you need, in my case I needed one long piece at xxx plus a piece at xxx for the singular dado rail that runs horizontally across the wall.
Then I needed 6 pieces at x for the sides of the three top rectangles, 6 pieces at x for the sides of the three smaller rectangles underneath and 12 pieces at x for the tops and bottoms of each 6 rectangles.
Use a tape measure and a pencil to make little marks on your dado so you know where to cut. The best thing to ensure you cut in a straight line is to use a mitre block. I have linked the one I have. and you will need some type of hand saw, I have linked the one I have, but any will be fine.


Step 5
So now we have all the pieces cut to size we need to cut the corners at an angle so they will join together seamlessly.
For this I laid my pieces out on the floor in the rectangles and then used a pencil to draw a diagonal line where I need to cut.
Once again, use a mitre block to cut a straight diagonal line. This is why having a mitre block is really handy as you can cut straight lines in all directions with one of these tools.
Again after I made each cut, I laid the pieces down on the floor to form the rectangles. Don’t worry if they don’t join up perfectly, this is to be expected and we will use decorators caulk to fill any gaps.
Step 6
You should already have the outlines drawn onto the wall so you should know where you are placing each piece. I started with the middle rail, then did the top panels and then the bottom panels, but it is entirely up to you which way around you do this.
Attach your adhesive into your sealant gun, I used Gripfill but any similar adhesive should do the trick. This one I particularly rate though because it stuck really well without having to prime my walls or anything like that.
Squeeze the gun to release the sealant and put a line of sealant onto the back of your dado’s, because I was doing this on my own, I did this one at a time, added the adhesive and then held to the wall for a few minutes ( you don’t need to hold in place for any longer than this, if it’s not sticking you either need to apply more sealant or change your sealant)
If there are two of you doing the job, maybe one person could apply sealant to the back of each piece and the other could stick them down. It’s up to you how you want to do this step, I liked doing it one at a time though for accuracy.
Also worth noting not to overdo it with the sealant, apply enough but one line should be more than enough, or you could just apply a number of dots along the piece, because as you press the piece onto the wall you will have excess sealant overflowing.
I would have a damp cloth nearby when you do this step, because if you do accidentally put too much sealant on a piece and it does overflow, you can simply wipe it off your walls. If you leave it to dry, it could be difficult to remove and look messy.
Another top tip to reduce mess it to have a carrier bag handy to place the gun down after using, because the sealant will spill out onto your floor if your not super careful.
Step 7
Hopefully things should be starting to take shape now. Everything should look as you expected, there may be a few gaps or what did that guy used to call them on art attack ‘nooks & crannies’ this is where you want to use your decorators caulk.
A lot of people miss this step, but I think it’s a really important one to make the job look really ‘well finished’ and ‘professional’
Where did I use the caulk? Everywhere! So I first removed the sealant from the sealant gun and added my caulk into the gun! I’d say definitely use a gun for accuracy!
Then I went around every panel with the caulk, so along the tops, sides, bottoms, and the main bit (the corner joins!)
After applying the caulk, I just used my thumb to run along the panels and smooth it down, similar to what you wood do with your bathroom sealant.
This step ensures the panels themselves look seamless against the wall, and the joins within the panels look seamless too!


Step 8
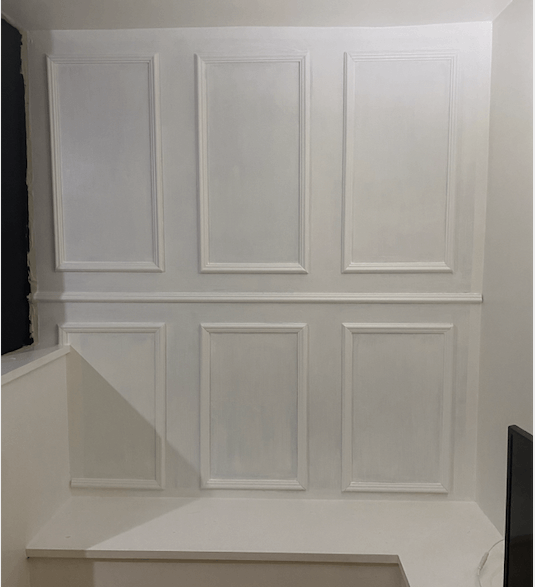
You should now have a perfect diy wall panelled wall and the last step is to paint. I was going from a medium grey wall to a brilliant white wall so admittedly it took 3 coats to cover, but feel free to paint any colour you like.
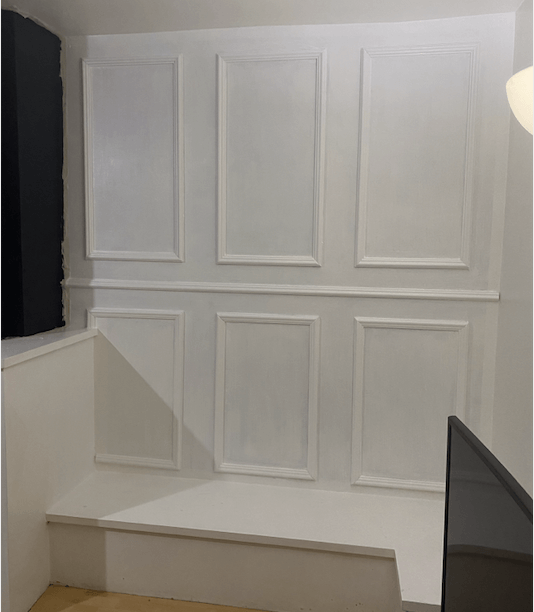

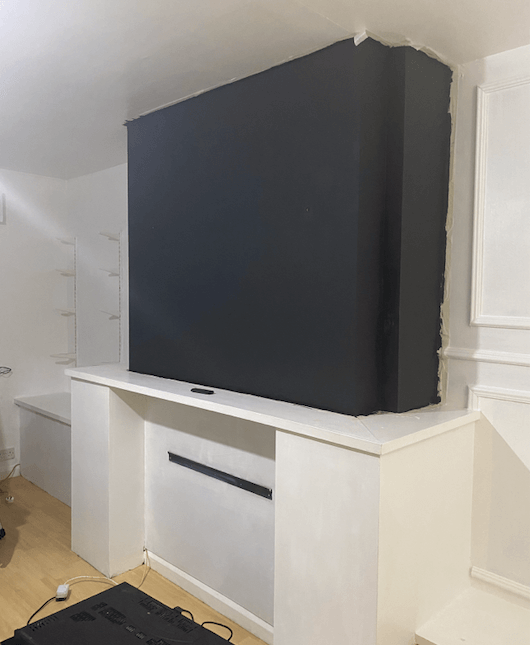
While we’re on the topic of painting you can see that I removed the wood affect wallpaper from the chimney breast and painted this matt black. I really love the contrast of the black paint against the bright white of my panelled wall.
In order to ensure I got clean lines with the black paint, I used masking tape! This is every painter’s best friend.
Tape along the edge of the ceiling and the wall that joins with the one your painting, then you can paint away with your fattest brush or roller and ensure you are not going to have any accidents. Just remember to leave the wall to dry completely before you remove the tape as if you remove the tape when wet the paint may leak over.
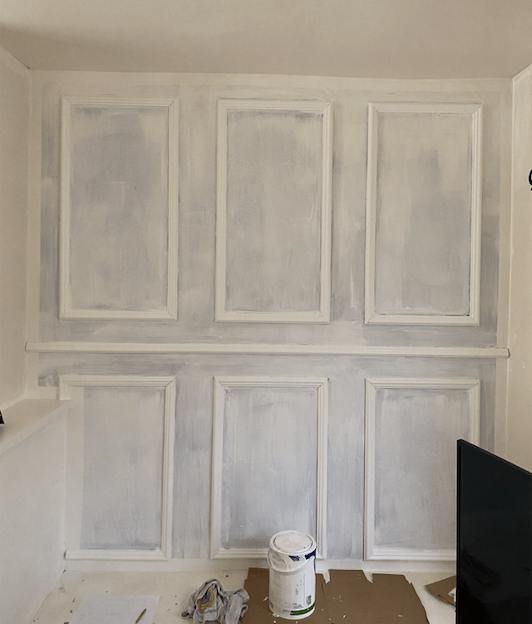
These images below you can see the masking tape is still along the edges of the wall.


Hope you enjoyed this post and happy DIY’ing!!

